6 Steps to Build a Cable Home Gym
A 6-step guide to setting up a cable pulley system in your home gym. Covers mounting, loading, essential exercises, and programming for a complete cable-only training plan.
Choose your mounting location
Cable systems need a solid anchor point. Wall-mount systems like the Mikolo need two adjacent wall studs — locate them with a stud finder and verify with a test screw. Rack-mount systems like the SERTT attach to a power rack's uprights. Door-mount pulleys use the door frame. Pick based on your space: wall mounts are permanent, rack mounts are semi-portable, door mounts are fully portable.
Drywall alone cannot support a cable system under load. Always anchor into studs, concrete, or structural steel. A cable system that rips out of the wall mid-rep is a serious injury risk.
Install and test the pulleys
Mount the pulleys according to the manufacturer's instructions. Use lag bolts for wall mounts — not drywall screws. Once mounted, run the cable through the pulleys and attach a light weight (10-20 lbs). Pull through the full range of motion 20 times to verify smooth cable travel, no binding, and no frame flex.
If the cable binds or the frame shifts under light load, stop and remount. Binding gets worse under heavy load, and frame flex means the mounting hardware isn't rated for the forces involved.
Set up your loading system
Most home cable systems use a loading pin that accepts standard Olympic or standard weight plates. Load plates evenly and secure them with a collar or clip. Some systems use selectorized weight stacks — just insert the pin at your desired weight. Start with 50% of what you think you can handle and work up.
Make sure the loading pin hangs freely and doesn't contact the wall or floor at the bottom of each rep. You need full cable travel for the exercise to work through its complete range of motion.
Master the 5 essential cable exercises
Start with these five movements: (1) lat pulldown (high pulley, wide bar), (2) cable row (low pulley, close-grip handle), (3) tricep pushdown (high pulley, rope or bar), (4) cable curl (low pulley, bar or rope), (5) face pull (high pulley, rope). These five hit every major upper-body muscle group through a full range of motion with constant tension.
Control the eccentric (return) phase — don't let the weight stack slam. The eccentric is half the exercise. If you can't control the return, reduce the weight.
Add lower-body cable work
Attach an ankle strap for cable kickbacks, hip abductions, and cable pull-throughs. These are isolation movements that target the glutes and hamstrings in ways that free weights don't. Keep the weight moderate — cable lower-body work is about targeted activation, not heavy loading.
Ankle straps must sit above the ankle bone, not on the Achilles tendon. A strap on the tendon is painful and can cause irritation with repeated use.
Build your weekly cable program
Split your cable training into push (tricep pushdowns, chest flies) and pull (lat pulldowns, rows, curls, face pulls) days. Three to four sessions per week, 3-4 sets of 10-15 reps per exercise. Cable training thrives in the higher rep ranges because constant tension makes every rep productive — you don't need to go as heavy as free weights.
Don't neglect compound free-weight movements in favor of cables. Cables are excellent for isolation and constant tension, but they don't replace squats, deadlifts, and overhead presses for overall strength.
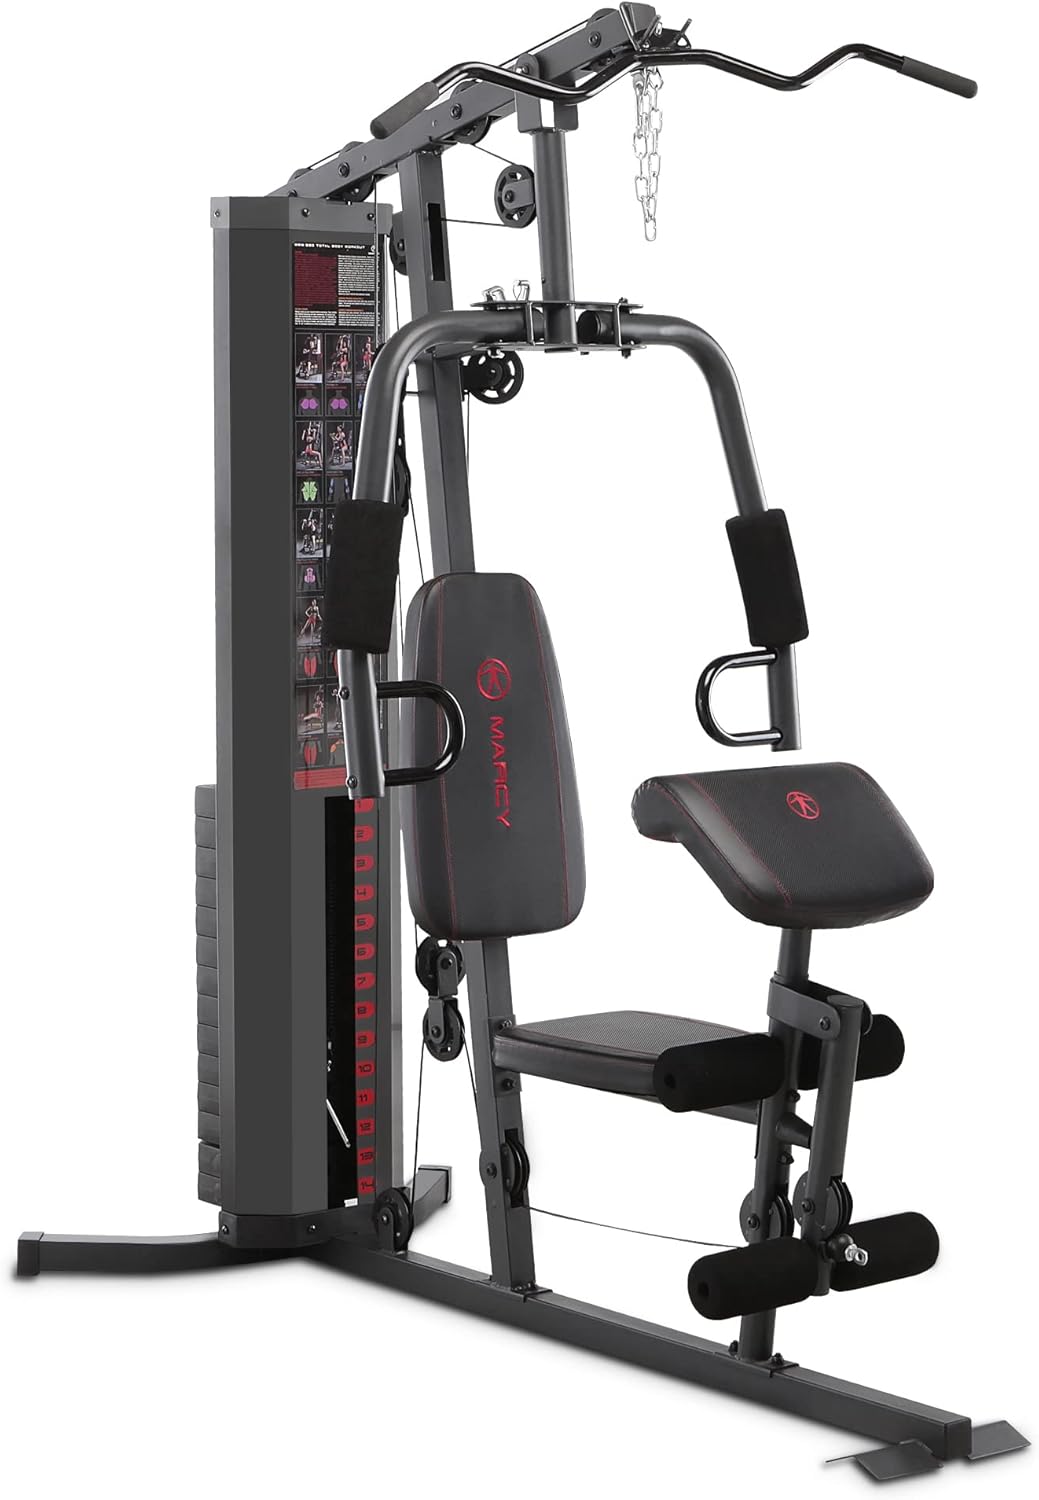
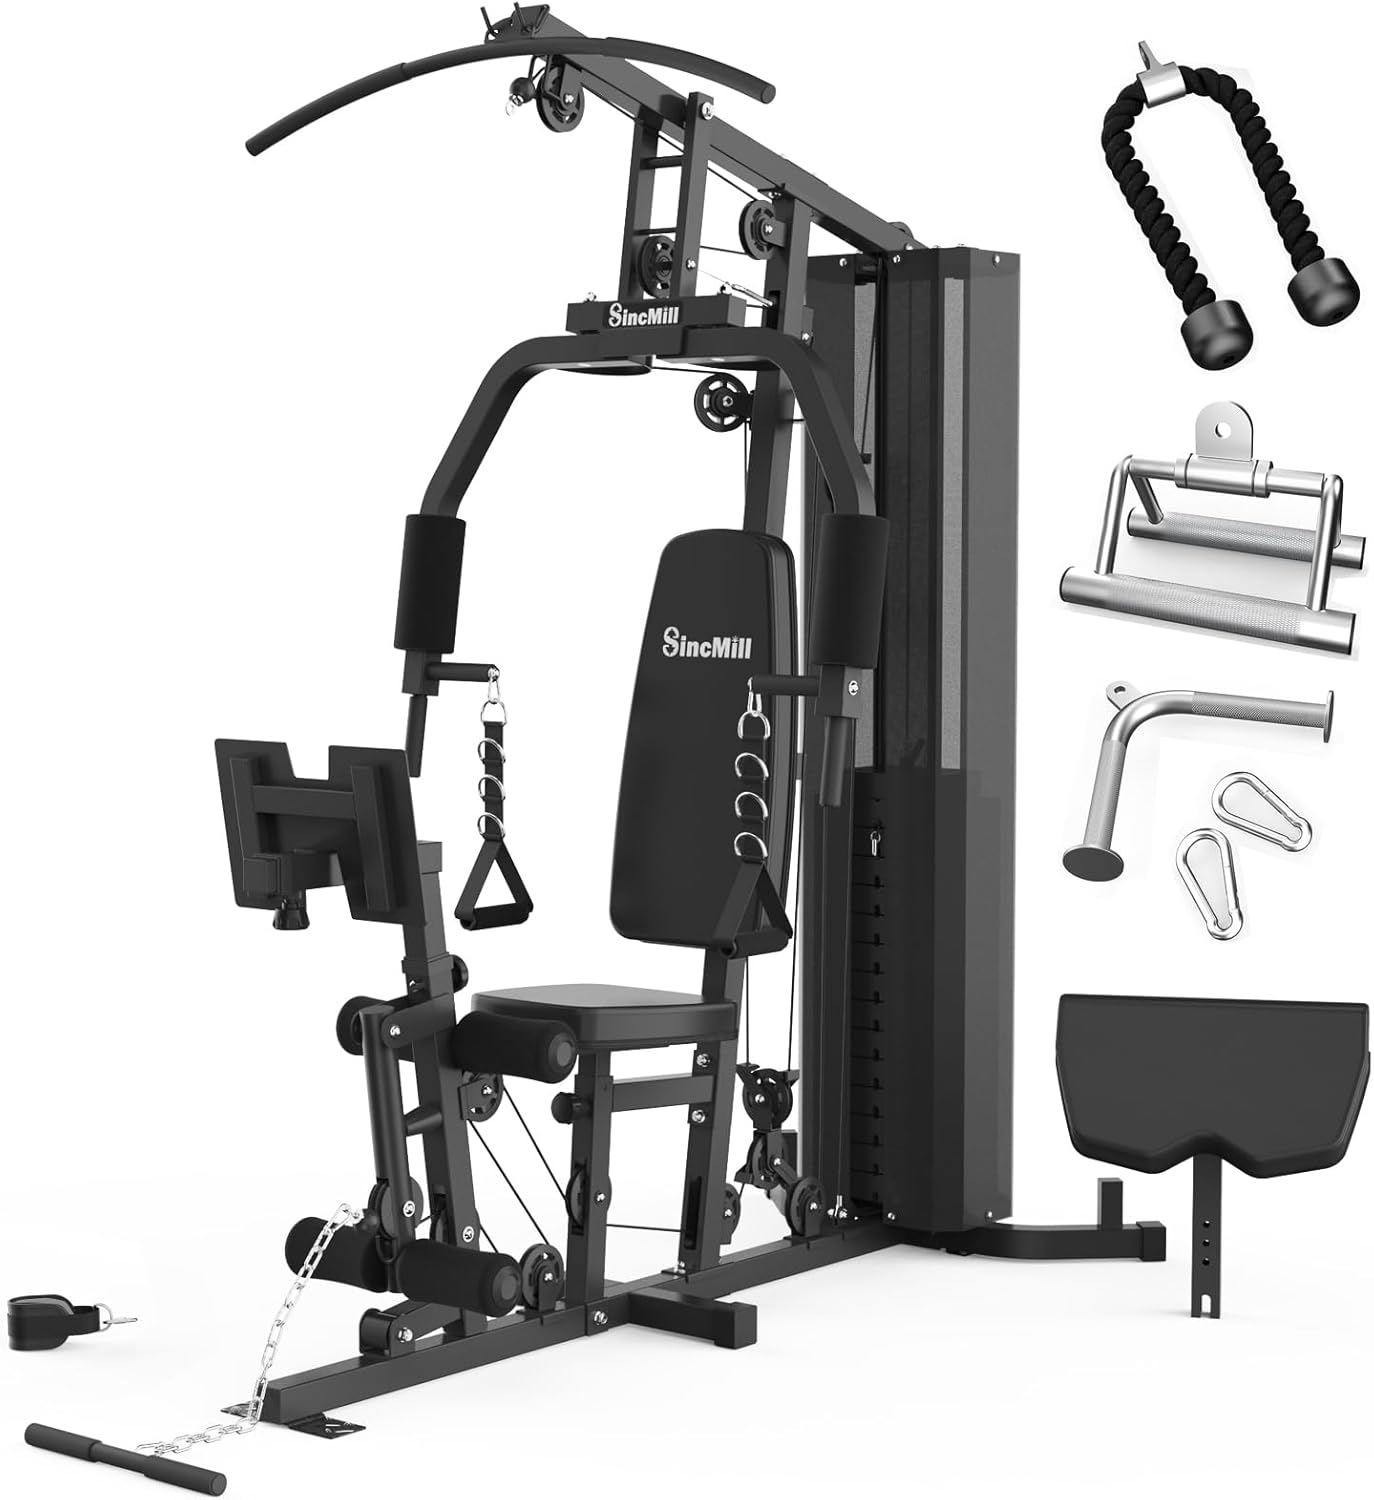
Scale up: multi-station home gyms
Cable work benefits from real multi-station setups when budget and space allow. These all-in-one home gyms bundle cable pulleys with weight stacks, leg extensions, and chest press into one frame.

*Tutorials do not constitute professional medical or fitness advice. Please consult a qualified professional before making decisions about your health or fitness routine.