7 Steps to the Barbell Back Squat for Beginners
A 7-step guide to the barbell back squat — the lift that builds more real strength than any other single movement. Covers stance, bar position, depth, bracing, and a 4-week progression plan for a beginner moving from bodyweight to 135 lb.
Set up the bar at shoulder height in a rack
Rack the bar at the same height as the top of your shoulders, or an inch below. The walkout should require lifting the bar straight up out of the hooks — you should never have to rise onto your toes to unrack. On a power rack, use the J-hooks; on a squat stand, use whichever pins put the bar at the right height. Set safety arms one inch below your bottom squat position so a failed rep gets caught by the rack, not by you.
If the bar is too high you'll tiptoe to unrack, which exhausts your calves before the set starts. If it's too low you'll do a partial squat just to walk it out. Adjust the J-hooks to your height the first time, not every time.
Get the bar on your back in the high-bar position
Duck under the bar and position it across the meat of your upper traps — not on your neck, not on the back of your delts. This is the high-bar position, the standard starting squat for beginners because it keeps the torso more upright and is more forgiving for ankle mobility. Grip the bar slightly wider than shoulder width with your elbows pointed down and forward. The bar should feel locked in place by the shelf your traps create.
A bar that slides around on your back is a bar that's sitting on the wrong part of your upper back. Retract your shoulder blades and slightly pull your elbows forward to create a thicker shelf. Bar on the neck is wrong and painful.
Walk the bar out and set your stance
Unrack by standing up through the legs — not by rocking hips or pulling with the arms. Take two or three controlled steps back. Set your feet shoulder-width or slightly wider, toes turned out 15-25 degrees. Your foot angle is personal; it's where your hips let you squat deep without knee pain. Plant all three points of contact — big toe, little toe, heel — and grip the floor.
Don't walk the bar all the way across the gym. Three steps back is enough clearance for the rack and safety arms. Longer walkouts waste energy you need for the set.
Brace hard before you break parallel
Before you descend, take a big breath into your belly — not your chest — and hold it. Then brace your abs as if you're about to be punched. This creates intra-abdominal pressure that stabilizes the spine under load. You hold this brace for the whole rep, exhaling only at the top when the lift is complete. Beginners often skip bracing because bodyweight squats don't require it; barbell squats absolutely do.
If you feel lower back pain or your lower back rounds at the bottom of the squat, you lost your brace. Re-rack the bar, reset your breathing and bracing, and try again. A lost brace under load is the mechanism behind most lifter back injuries.
Descend to parallel or below
Break at the knees and hips simultaneously — don't lead with hips or knees. Descend until your hip crease drops below the top of your knee — that's 'parallel' in lifter terminology. Below parallel is fine if your mobility allows; any shallower than parallel is a partial squat that misses most of the strength adaptation. Focus on keeping your chest up, knees tracking over your toes, and the bar traveling in a straight vertical line above midfoot.
Knees caving inward at the bottom is the classic beginner fault — drive your knees out over your toes as you descend. If your heels lift, your ankle mobility or shoe stack isn't right. Flat-soled lifting shoes or a small plate under the heels fixes it while you work on mobility.
Drive up without losing position
Reverse the movement — drive the floor away with your whole foot, not just your heels. The hips and chest should rise at the same rate; if your hips shoot up first, the squat becomes a good morning with extra steps and your lower back takes the load. Keep bracing until you lock out at the top. Only then exhale and reset for the next rep.
'Hips shooting up' is the most common fault under heavier loads. It happens because your quads aren't strong enough for the load, and your hips compensate. Drop the weight 10-20 lbs and rebuild the pattern. Ego-lifting a squat always ends badly.
Follow a 4-week linear progression
Week 1: empty bar (45 lbs), 3 sets of 5. Week 2: add 5 lbs per session if every rep is clean, 3 sets of 5. Weeks 3-4: same pattern until you miss a rep or form breaks down. When you stall, drop 10% and rebuild. This is starting-strength linear progression — the proven path from an empty bar to 135+ lb squat over the first 8-12 weeks. Train squats 2-3 times per week, never twice in a row.
Add weight only when every rep was clean with your brace intact and depth hit. Adding weight to a bad pattern cements the bad pattern. A missed rep at 135 is normal; a missed rep because your knees caved or back rounded is a problem.
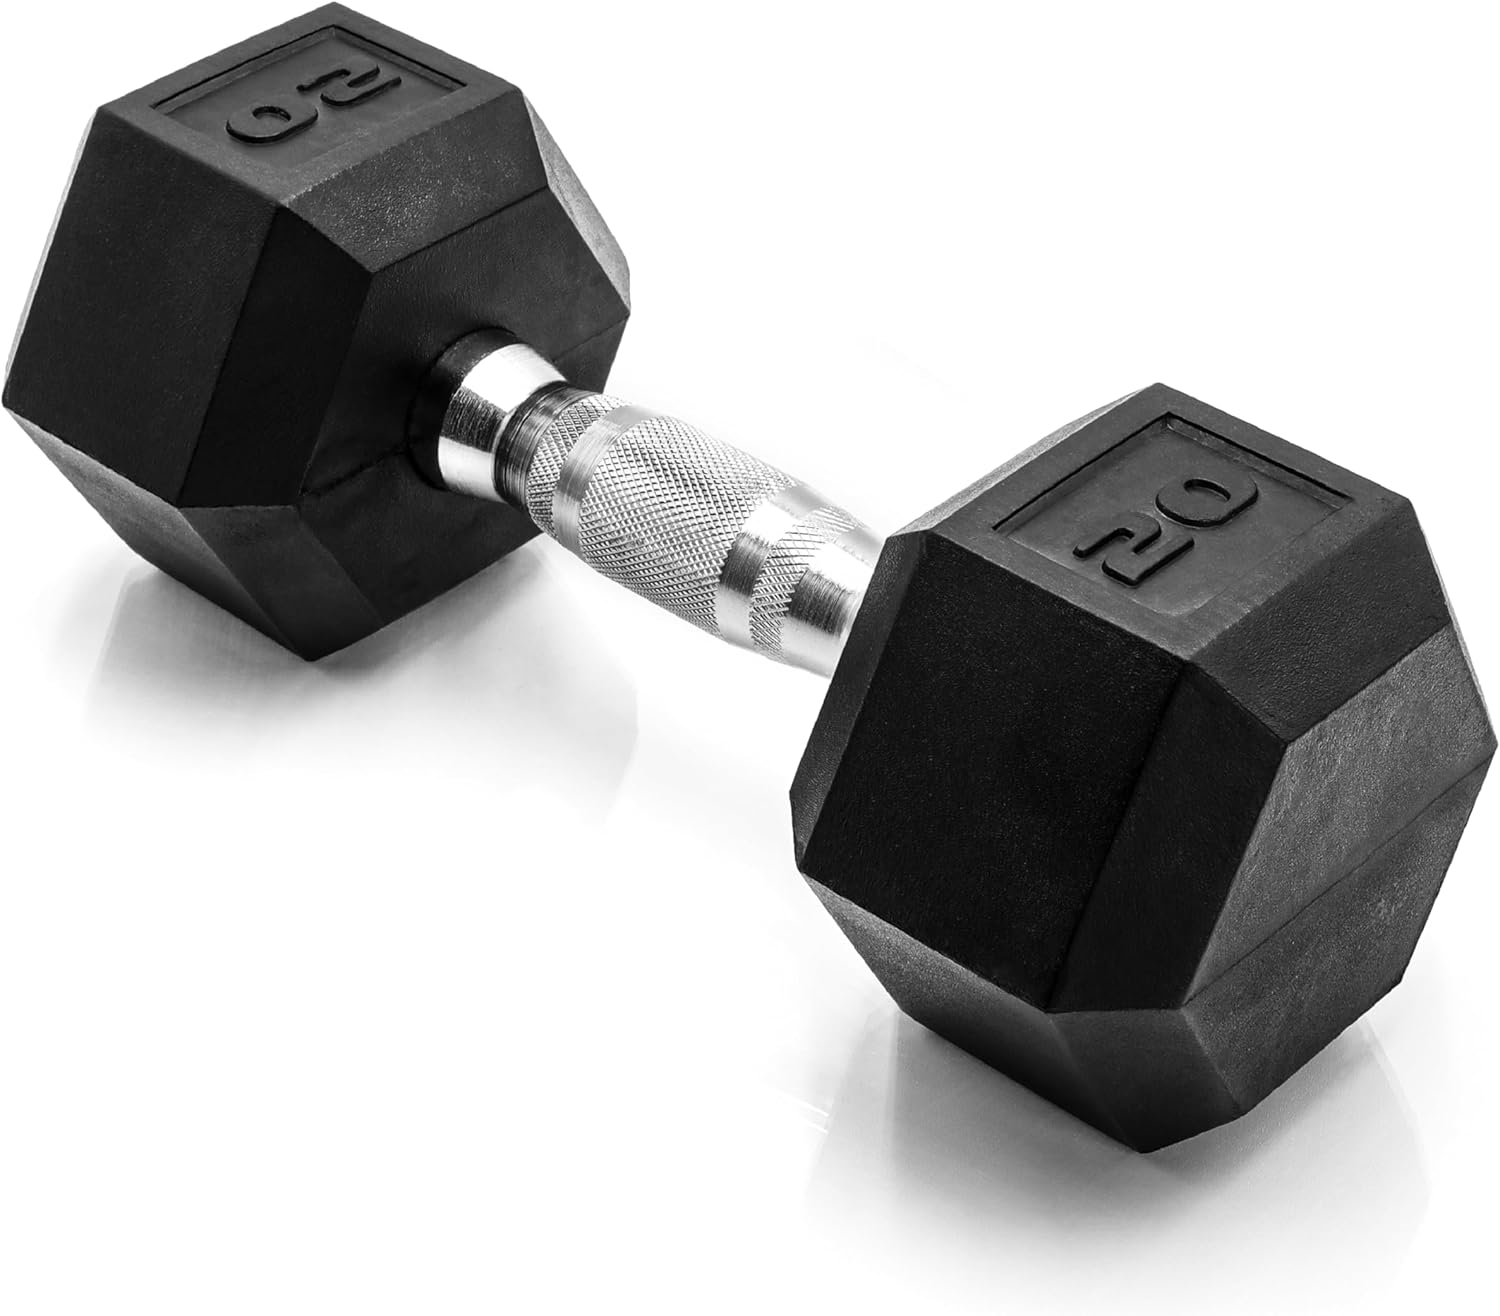
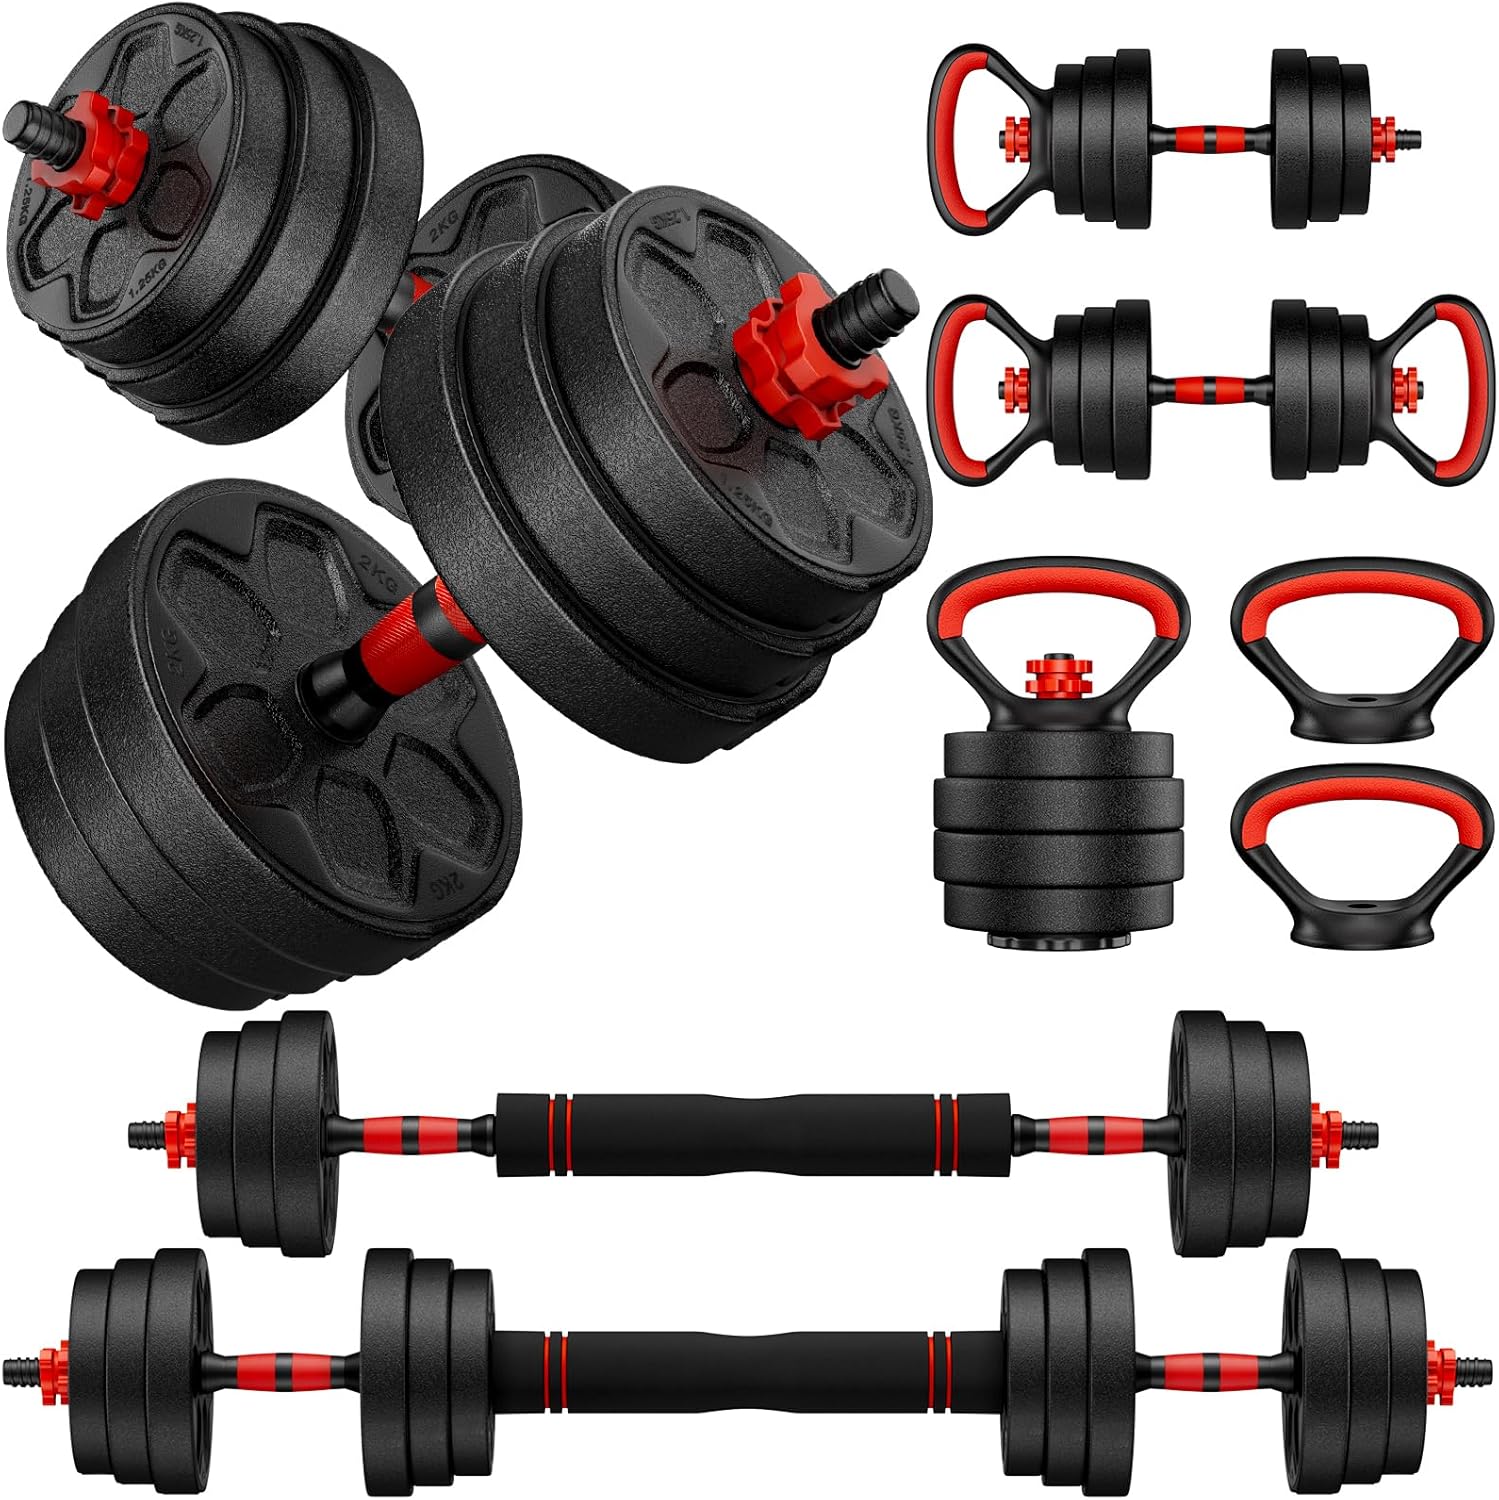
Also consider: dumbbells for accessory work around the squat
Even the best barbell-squat program benefits from dumbbell accessory work — split squats, walking lunges, Bulgarian split squats, and loaded step-ups hit the single-leg patterns a barbell can't. A pair of fixed-weight dumbbells between 20 and 50 lbs (or an adjustable set) fills that gap, and the accessory work helps correct left-right imbalances that show up once you squat heavier.

*Tutorials do not constitute professional medical or fitness advice. Please consult a qualified professional before making decisions about your health or fitness routine.